
There’s a moment in every session when you hit record and think:
This needs more character.
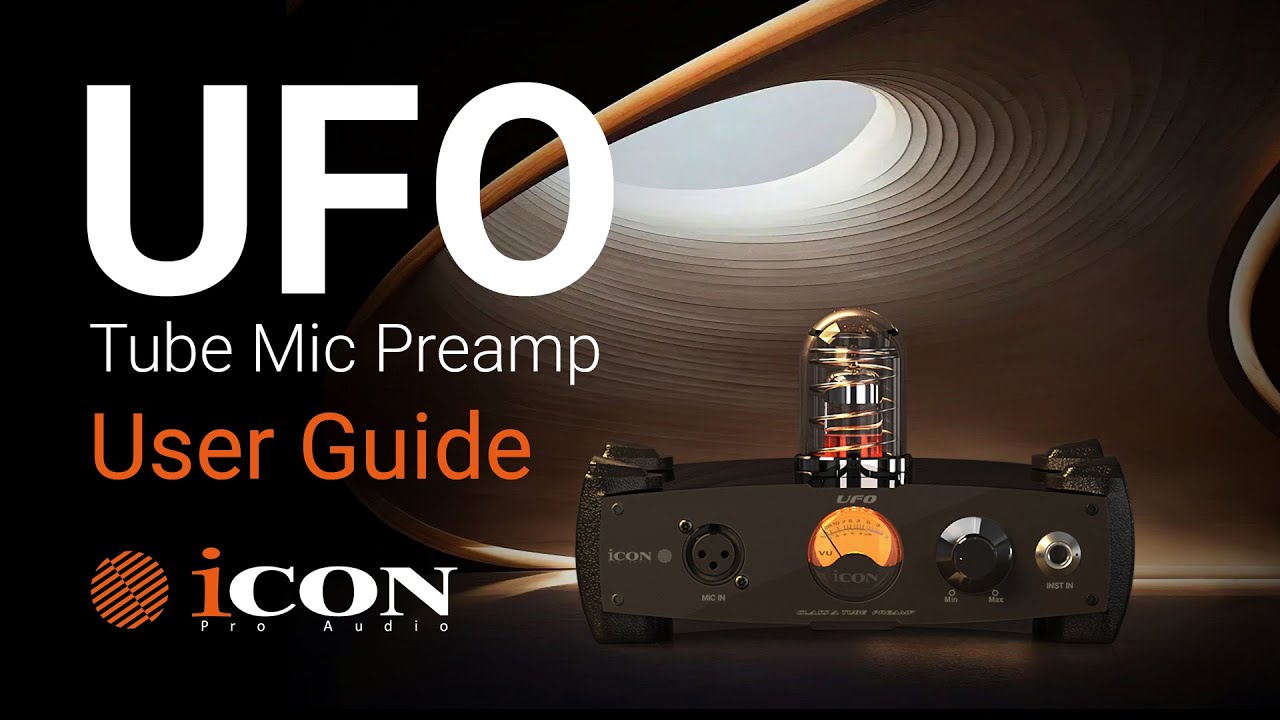
That’s exactly why we built the iCON UFO Tube Preamp.
The UFO is a fully analog, Class-A discrete tube microphone preamp designed to bring warmth, detail, and depth to vocals, guitars, bass, synths, podcasts, and streaming content. But what makes it special isn’t just the circuitry — it’s the 4 swappable tube system that gives you four distinct tonal personalities in one unit.
In this guide, we’ll walk through:
Setup and connections
Gain staging for clean, professional recordings
Phantom power and pad usage
Understanding the controls
Swapping tubes safely
How to choose the right tone for your session
Let’s plug in.
Inside your UFO package, you’ll find:
UFO Tube Preamp
Power supply
Four interchangeable tubes (Clean, Modern, Vintage, Warm)
Quick Start Guide
Simple. Purposeful. Ready for the studio.
Setting up the UFO is straightforward.
Connect your microphone to the front-panel XLR input.
Connect the rear output to your audio interface or mixer.
Plug in the power supply.
Switch the unit on.
That’s it. The signal flow is clean and classic — just like good analog gear should be.
Let’s break down what each control does — and why it matters.
Controls your input level.
Always start with the gain turned all the way down before powering on or connecting a mic.
Provides power for condenser microphones.
Best practice:
Plug the microphone in first.
Then engage +48V.
Only use it when the mic requires it.
Dynamic and ribbon mics usually do not need phantom power.
Mic mode → For XLR microphones
Instrument mode → For guitars, bass, synths (¼” input)
This ensures the preamp is optimized for the correct signal type.
Reduces the input level before the gain stage.
Use it when:
Recording loud drums
Close-miking guitar amps
Tracking aggressive vocals
If the signal is hitting too hard, engage the pad.
Flips the signal phase.
Helpful when:
Using multiple microphones
Something sounds thin or hollow
You suspect phase cancellation
Sometimes one switch can bring a mix back to life.
Good recordings start with good levels.
Here’s the process:
Gain fully down.
Perform at normal session volume.
Slowly raise the gain while watching your DAW meters.
Aim for peaks between –12 dB and –6 dB.
That’s the sweet spot.
Why?
Strong signal
Plenty of headroom
No digital clipping
Cleaner mix later
If your meters hit red (0 dB), pull the gain back slightly.
🎧 Always monitor with headphones while adjusting. You’ll hear distortion or unwanted noise immediately.
Tube preamps shine when driven slightly — but not slammed.
If you want:
Cleaner tone → Back off the gain.
More harmonic richness → Drive it gently.
It’s like cooking with heat. Too much burns. Just enough brings flavor.
This is where the UFO becomes more than a preamp.
It becomes a tone instrument.
Transparent and natural.
Perfect for:
Vocals
Acoustic guitar
Spoken word
Detailed recordings
Bright and articulate.
Great for:
Pop vocals
Percussion
Synths
Contemporary production
Warm midrange character.
Ideal for:
Electric guitars
Bass
Retro-style vocals
Classic rock textures
Smooth saturation and depth.
Perfect for:
Adding analog vibe to digital recordings
Streaming setups
Podcasts
Thickening thin sources
⚠️ Tubes get extremely hot.
Follow these steps carefully:
Power OFF the unit.
Disconnect power.
Wait at least 10 minutes.
Gently pull the tube straight out (do not twist).
Align the pins carefully when inserting the new tube.
Power back on.
Let the unit warm up for 5–10 minutes before recording.
Safety first. Tone second.
Here are a few pro tips we use in our own sessions:
Let the preamp warm up before tracking.
Use high-quality cables to reduce noise.
Pair tube selection with song mood.
Record clean takes first — you can always add more color later.
Experiment. The UFO rewards curiosity.
Set gain conservatively: –12 to –6 dB peaks.
Use the pad for loud sources.
Engage phantom power only when required.
Let tubes cool before swapping.
Choose your tube based on the emotional goal of the track.
Recording today is easier than ever.
But sounding human? That still takes intention.
The UFO was designed to give you options — not complexity.
Four tubes. Four voices. Infinite possibilities.
Whether you’re tracking vocals in a home studio, reamping guitars, recording bass, or streaming live content, the iCON UFO Tube Preamp helps you move from clean capture to intentional tone shaping.
Turn it on.
Let it warm up.
Drive it gently.
And make something that feels alive.
For more details and product information, visit iconproaudio.com.
Subscribe to our mailing list to stay up to date with the latest product news, updates, and information.